
NO ONE WILL EVER TELL YOU ABOUT THIS SECRET KITE`S MAKING
HAS JET ENGINE SOUND
JUST 1 DOLLAR
AND YOUR 15 MINUTES

WATCH THIS BIRD FLY CLICK HERE FLYING EXPERT
Flying kite is one of the most funny and enjoyable sport. It does not need any special places or equipment to enjoy flying your kite. You just need a kite and the thread and a spot to fly the kite.
Sometimes when there is no
Yes
So in this post I am going to show how you can make a very nice and easy to fly kite from just a plastic bag.
ABOUT THIS KITE
When I first fly a kite it was a new experience for me and after that I used to fly kites almost all the day.
I liked flying so much that I spent a lot of money buying kites. As these
This kite flies as high as you want to take
WHAT WILL YOU NEED
If you are thinking that making this awesome kite will be very difficult and will need many things! YOU ARE WRONG. Because it does not require any special items to make
These items are easily available everywhere

1 PLASTIC BAG
You can use any big shopping bag, but you should prefer plastic bags with thin plastic. Thick plastic has weight, which will resist to fly. But this plastic should not be so thin to bear the force of air. It happened with me when I used a very thin plastic bag it tore my kite from a corner and I lost a match with my friend because of this thin plastic.
2 ADHESIVE TAPE
Transparent Adhesive tape is a perfect choice to make plastic
3 SCISSORS
You can use any scissors, but small scissors will not work so good. Also use sharp scissors. I prefer tailor scissors because these scissors are perfect for cutting thin sheets. Before you use them for your kite you should practice a bit over different things until you think you are good to go!
4 HARD AND THIN STICKS (SEE IMAGES)
Sticks which I am using are taken from a paper kite. These sticks are made of bamboo wood by cutting them. You can also make these sticks from different home items like a broom or using coconut leaves. Or simply by chopping wood is straight away.
To fly a kite you must need some thread. You will not actually need thread for making kites, but in the end you have to make a controlling tie from the thread which is very important.
You must be careful buying these threads as weak and thin thread can break the line in the mid air and too much thick thread will not fly sobuy
5 THREAD
To fly a kite you must need some thread. You will not actually need thread for making kites, but in the end you have to make a controlling tie from the thread which is very important.
You must be careful buying these threads as weak and thin thread can break the line in the mid air and too much thick thread will not fly so
STEP 1 CUTTING THE PLASTIC BAG
So you have everything, hmm? Read carefully and do it step by step
The first thing you have to do is to cut out a square piece of this plastic bag.
* In order to get that square piece cut both sides of plastic bag and you will get a rectangular plastic piece.


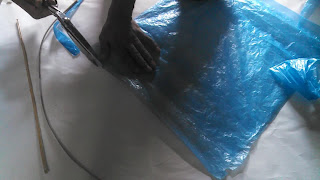

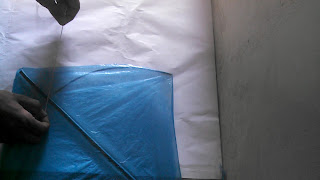
*overlap the plastic sheets in a triangular form and cut extra sheet. Now you have a square piece of plastic sheet


*Don`t just open this overlapped triangular sheet. kite . at
By keeping it overlapped you will find three corners. .
1-First corner is the middle one having each side equal to another corner.
2-Second corner is any corner having one short side and a long side.
Now you have to trimthese corners See .
And if you can`t understand any step you can ask about it inthe comments


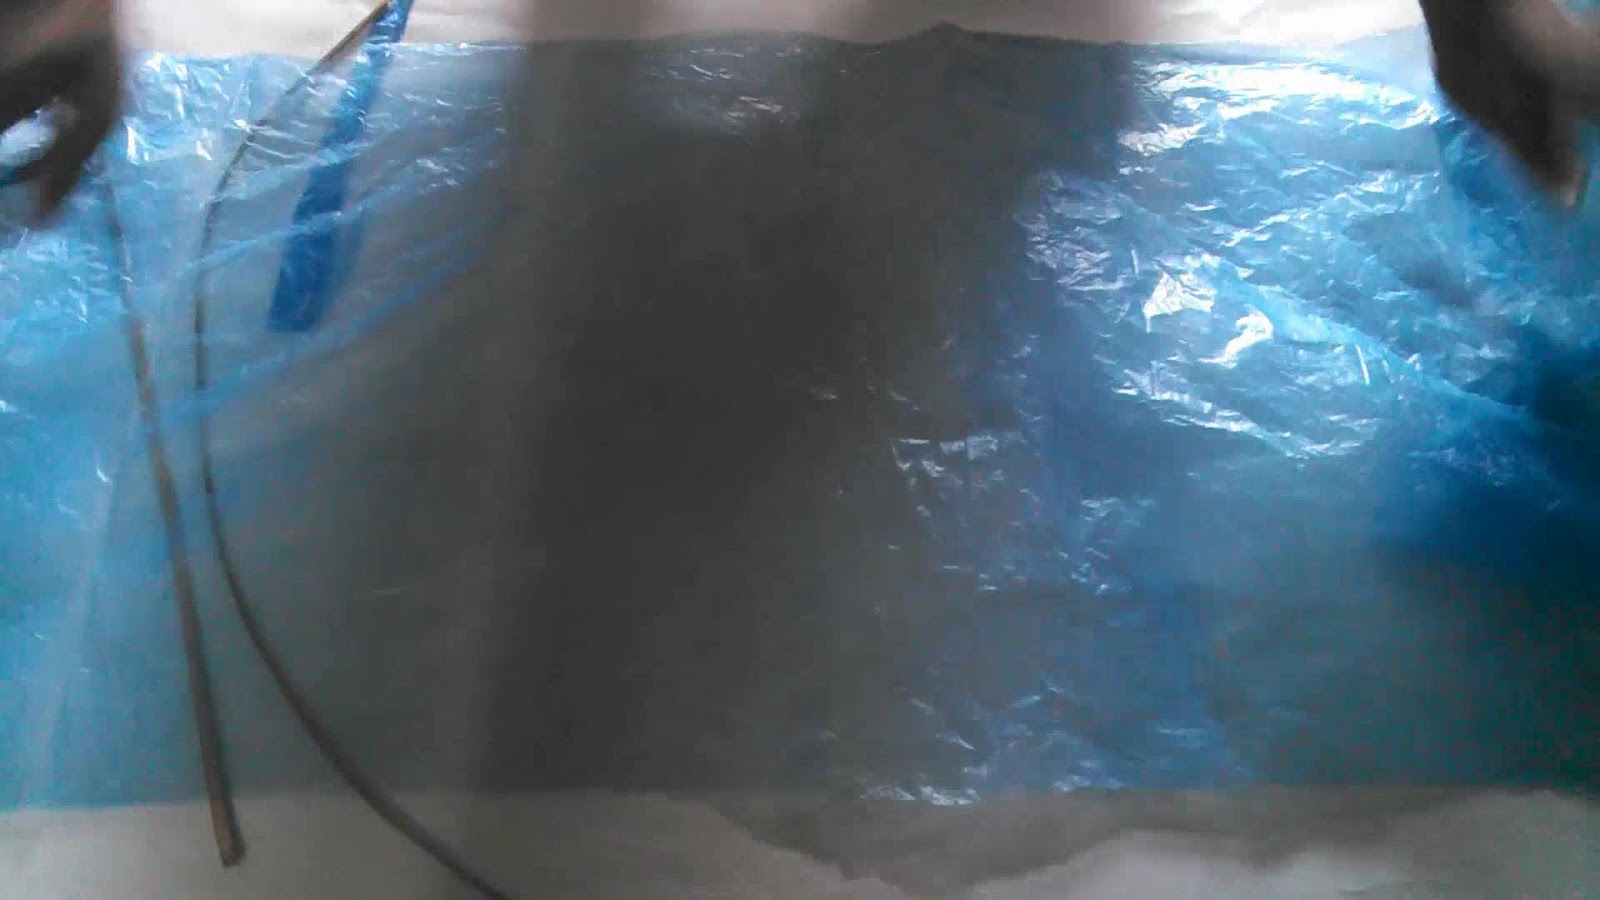
*Now just look at the finished sheet. . The to

*Also the part you have trimmed off will be used as the tail. tail air, which .
Now you have the sheet! In order to fly your kite high inair . bear . bear . .
So you have to attach these sticks to the sheet. see
This step iseasy so .


Now stretch your second stick inshape bow but . stick it, make . tape the first corner . . . .


Tail is not so important to fly the kite but when it comes tolook kite . Also it
There are multiple ways of making thesetails, but tail, which fish kite
So overlap a piece of plastic again in the shape triangle. . to Then to your

Yes, you the only can't . . .
Here are some ways that can help you to make these sticks at home.
1--Have you ever seen coconut leaves? Hope you can find them. hard green stick firm . .
2-You can use a wooden stick to make these sticks. wood-worker .
3-you can also use plastic sticks.
4- I might notwork but it.It
Now your kite is almost ready to fly . . correctly your . . And images below show each step
1-Take a piece of thread ahalf way then . centimeters then .
2-Make two holes at the point where the two sticks are crossing each other. . with
3-Similarly make two holes on bothside . second side
4-Now you have a thread holding the kite from the middle stick.
Make a knot between this thread in this way that the length between this knot to forward-knot (the knot which is holdingbow is to ( . see
This knot is for attaching your thread which will be in your hands when you will fly the kite.
Now tie the tread with this last knot and fly your kite.


As I have told you before it is very easy to fly this kite.
1-Check for air
It is very important to find the direction of wind because you can`t fly kite against the direction of air. . for
2- Ask your friend for help
Taking off your kite is a little hard, so ask your friend to take your kite to a distance and you can pull the thread to yourself keeping the head up. .
It is easy to control this kite.
*When it has gained someheight
* When you what it to change the direction of its head, let some of yourthread
*Quickly pull your hand back like a shock andyour
WATCH THIS BIRD FLY CLICK HERE FLYING EXPERT
* In order to get that square piece cut both sides of plastic bag and you will get a rectangular plastic piece.


*overlap the plastic sheets in a triangular form and cut extra sheet. Now you have a square piece of plastic sheet


*Don`t just open this overlapped triangular sheet
By keeping it overlapped you will find three corners
1-First corner is the middle one having each side equal to another corner.
2-Second corner is any corner having one short side and a long side.
Now you have to trim
And if you can`t understand any step you can ask about it in


*Now just look at the finished sheet

*Also the part you have trimmed off will be used as the tail
STEP 2 ATTACHING AND ASSEMBLING STICKS
Now you have the sheet! In order to fly your kite high in
So you have to attach these sticks to the sheet
This step is


Now stretch your second stick in


THE TAIL
Tail is not so important to fly the kite but when it comes to
There are multiple ways of making these
So overlap a piece of plastic again in the shape triangle

HOW TO MAKE THESE STICKS??
1--Have you ever seen coconut leaves? Hope you can find them
2-You can use a wooden stick to make these sticks
3-you can also use plastic sticks
4- I might not
STEP 3 READY YOUR KITE FOR FIRST FLIGHT
Now your kite is almost ready to fly
1-Take a piece of thread a
2-Make two holes at the point where the two sticks are crossing each other
3-Similarly make two holes on both
4-Now you have a thread holding the kite from the middle stick.
Make a knot between this thread in this way that the length between this knot to forward-knot (the knot which is holding
This knot is for attaching your thread which will be in your hands when you will fly the kite.
Now tie the tread with this last knot and fly your kite.


HOW TO FLY THIS KITE??
As I have told you before it is very easy to fly this kite
1-Check for air
It is very important to find the direction of wind because you can`t fly kite against the direction of air
2- Ask your friend for help
Taking off your kite is a little hard, so ask your friend to take your kite to a distance and you can pull the thread to yourself keeping the head up
3- CONTROLLING YOUR KITE
It is easy to control this kite.
*When it has gained some
* When you what it to change the direction of its head, let some of your
*Quickly pull your hand back like a shock and
WATCH THIS BIRD FLY CLICK HERE FLYING EXPERT
Post a Comment
Please give us feedback in comments here